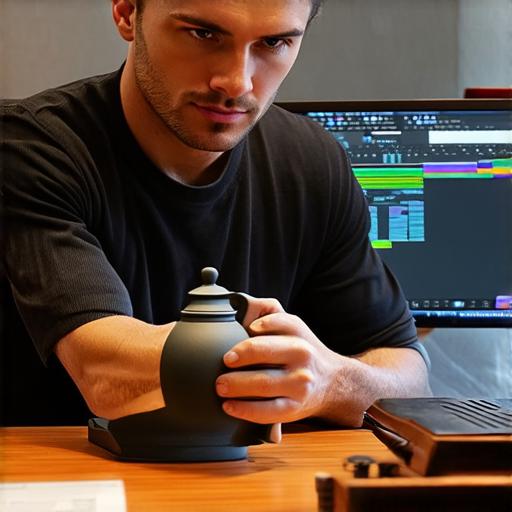
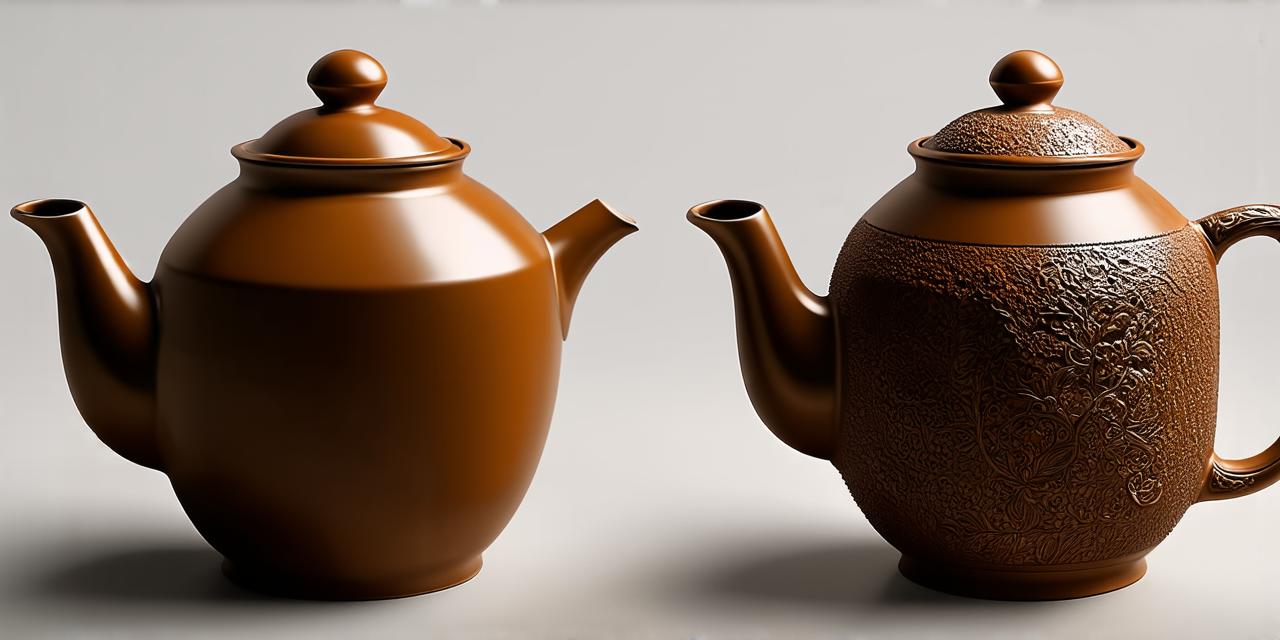
How can 3D modeling be used to create a teapot?
3D modeling is a powerful tool that can be used to create a wide range of objects, from simple geometric shapes to complex structures like buildings and vehicles. In this article, we will explore how 3D modeling can be used to create a teapot, including the tools, techniques, and best practices for creating a realistic and engaging teapot model.
Tools and Techniques for Creating a Teapot Model
There are many different tools that can be used to create a teapot model in 3D, including:
- CAD software: Computer-Aided Design (CAD) software is a popular choice for creating 3D models. Examples of CAD software include Autodesk’s AutoCAD and Blender.
- 3D modeling software: There are many different types of 3D modeling software available, including specialized software like Maya and Cinema 4D, as well as more general-purpose software like SketchUp.
- 3D printing software: 3D printing technology has come a long way in recent years, and there are now many tools available for creating printable 3D models. Examples of 3D printing software include Simplify3D and Cura.
Once you have chosen your tool, the next step is to start creating your teapot model. This typically involves:
- Sketching out a rough design on paper or using a sketching program to create a digital version of your design.
- Using the 3D modeling software to create the basic shape and structure of the teapot, including the handle, spout, and body.
- Adding details such as texture, patterns, and other decorative elements.
- Exporting the model in a format that can be used for rendering or 3D printing.

Best Practices for Creating a Realistic Teapot Model
When creating a teapot model, it’s important to keep in mind a few key best practices to ensure that your final product looks realistic and engaging:
- Pay attention to proportions: Teapots come in many different sizes and shapes, so it’s important to make sure that the dimensions of your model are accurate. This includes the height, width, and depth of the body, as well as the size and shape of the handle and spout.
- Use reference materials: To help ensure that your teapot model looks authentic, it can be helpful to use reference materials such as photographs or real-life examples of teapots. This can help you get a sense of the different shapes, textures, and patterns that are commonly found on teapots.
- Add texture and detail: To make your teapot model look more realistic, it’s important to add texture and detail such as wrinkles, grooves, and other small features. This can be done using techniques like mapping or extrusion.
- Render or print the model: Once you have created your teapot model, it’s a good idea to render or print it to get a sense of how it will look in real life. This can help you make any necessary adjustments before finalizing your design.
Case Study: Creating a Teapot Model for a Game
As an example, let’s take a look at the process of creating a teapot model for a 3D game.
First, the designer would start by sketching out a rough design on paper or using a digital sketching program. This might involve experimenting with different shapes and sizes for the body, handle, and spout, as well as considering the texture and detail that will be added to the model later.
Next, the designer would use a 3D modeling software like Blender to create the basic shape and structure of the teapot. This might involve extruding the walls of the body, adding the handle and spout, and adjusting the dimensions and proportions as needed.
Once the basic shape was in place, the designer would add texture and detail to the model using techniques like mapping or extrusion. This might involve adding wrinkles and grooves to the surface of the teapot, as well as applying different textures and colors to create a more realistic appearance.
Finally, the designer would export the model in a format that could be used for rendering or 3D printing, and render or print the model to get a sense of how it would look in the game.
